I don't know why but this season really hit me that my baby is no longer a baby. Maybe it's all the running around that goes on in my house. And yeah, I'm talking about me. Running here to get him out of a drawer or running there to direct him away from climbing the stairs. Phew, if you want a good workout, have a toddler!
An amazing new thing is how much fun we have doing crafts. I'm starting to document them more on the blog since I don't want to forget all the fun things we do and I really want to share them with other mommies. At 16 months, he can interact more while doing handy crafts which is so entertaining, rather than trying to do a craft with a newborn: which means they breastfeed while you stamp their foot to a piece of paper.
You only need a few things for this craft and you probably already have them in your home!
Here are the basics:
- 2 sheets of cardstock, different colors or patterns
- 2 sheets of construction paper, different colors
- Glue stick or tape
- Crayons
- Scissors
- 8x8 inch piece of cardboard
- Piece of twine
- a child, preferably your own
That last one is just to be sure. Unless you're a sister, aunt or grandmother. Other than that, things can get creepy.
Take the construction paper and let the littler guy or gal to doodle their heart out with the crayons. Show them how to write their name or let them do it if they are older. Make this part a small craft on it's own, because technically, this is the only part they do! After they get their Picasso on, simply turn the sheet around and trace their handprint on the back. Cut out the handprint and use it as a stencil for the rest of the hands. Cut out about 12, or 2-3 handprints per sheet of cardstock and construction paper.
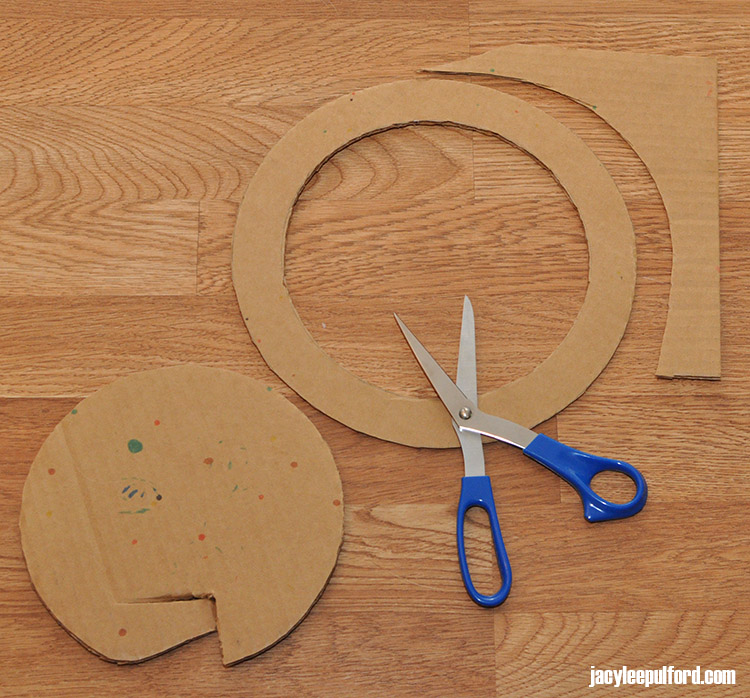
Use a small and medium plate to trace circles onto the cardboard, one for the outer line and one for the inner line. It should make a good size ring shape. Cut out the ring shape.
Glue or tape your little one's handprints on one side. You'd want to "fan" them out like leaves or feathers, making sure they hide the cardboard. Turn the wreath around so that the cardboard is face up. Measure a length of twine about 3 inches long and string it across the top, only taping at the ends. This will be how you hang the wreath...like...
...tada! I was so excited to add this to my dining room plate wall! Yellow and orange are part of my decor colors so the wreath blended right in. Of course, it's just so touching to see his sweet hands decorating the wall. It's going to make a great addition to my fall decor and an even better keepsake for him later on.
Have you added any kid crafts to your decor?


No comments:
Post a Comment
Comments from Awesome People